Originally posted May 25, 2020.
This week my goal was to bake something that I am familiar with to adequately gage my current skills set. The first thing that came to mind was to make my great-grandma’s apple pie.

My Inspiration
While growing up, every August the women in my family would go to the farm for the weekend to make pies and do some canning. It was always a really special experience for me and I hold onto those memories. In the weekend we would make about 120 apple pies because those were everyone’s favorite. When we were done baking and canning everything, my great-grandma would finish the rest herself over the last little bit of the summer. Then when we all went back to the farm for Thanksgiving, every family would go through the baking and canning and take home laundry baskets full of all the delicious goods.
Considering how many pies we would make, I know my grandma’s recipe off by heart. However, its one of those recipes where you keep on adding stuff till it tastes and looks right.
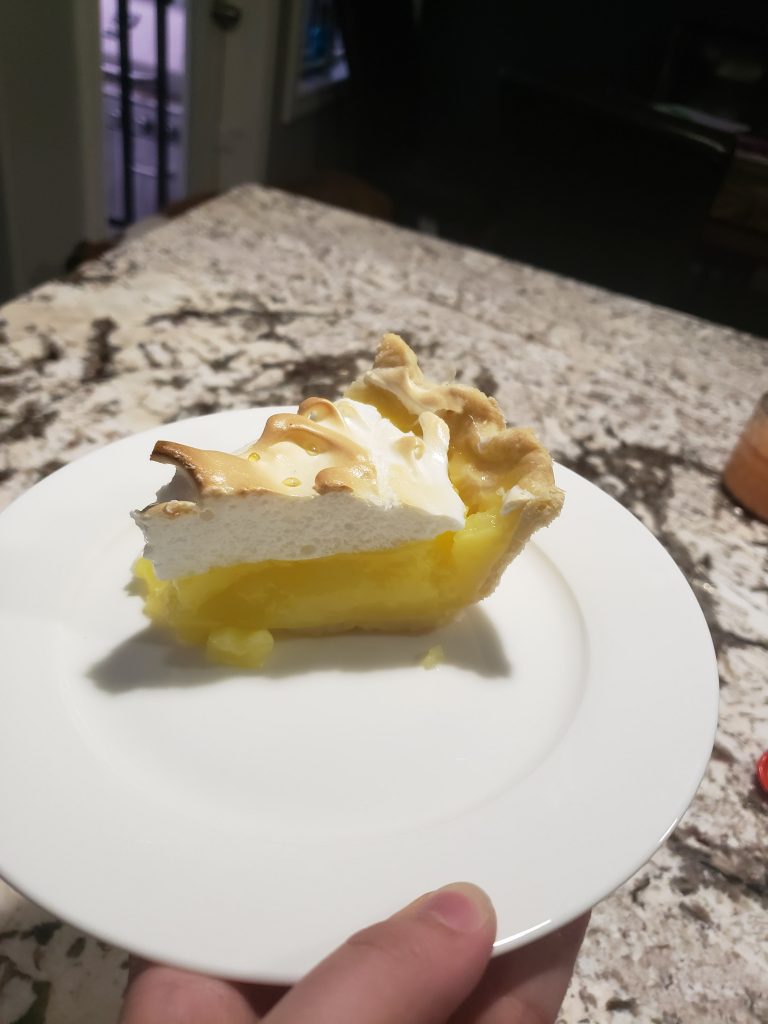
After I decided I wanted to make apple pie, I went through my pantry and realized I did not have any apples, but I did have lemon pie filling. So, I decided to make lemon meringue pie. Since I had packaged lemon pie filling, I only made the pie crust from memory.
Recipe
Crust
My grandma’s pie crust recipe is as simple as it gets as long as you know what it is suppose to look like.
Ingredients
2 Cups All Purpose Flour
2/3 Cups Shortening
Optional
1/2 Tsp Salt
Instructions
Combine flour and shortening in a bowl. Mix with clean hands and add more flour or shortening until you get a smooth ball of dough. Do not over work the dough.
Preheat oven to 375 degrees. Roll the dough out on a flat surface to the size of your pie plate. Gently set the dough in your pie plate and cut the excess. Bake the crust in the oven until golden brown. Let cool on the counter.
Lemon & Meringue Filling
I used Dr. Oetker’s pie filling to make the pie. The original recipe can be found here.
Ingredients
2 Eggs
1/4 Cups Sugar
1/3 Cups Cold Water
1 Package Shirriff Lemon Pie Filling & Dessert Mix
2 Cups Boiling Water
1 Tbsp Butter
Instructions
Meringue
Separate 2 fresh eggs; put two egg yolks aside into a saucepan and egg whites into mixing bowl.
Beat 2 fresh egg whites on medium until soft peaks form (30 sec).
Gradually beat in 1/4 cup sugar. Beat on high until stiff peaks form (approx. 2 mins).
Lemon Filling
In a saucepan with 2 slightly beaten egg yolks, add 1/3 cup (83 mL) cold water, stir, then add pouch contents, and whisk until smooth.
Add in 2 cups (500 mL) hot water and mix well.
Cook over medium high heat, stirring continuously (approx. 15 min). When bubbles first break the surface, continue to boil and stir for 30 sec. Remove from stove top, and stir in 1 tbsp. (15 mL) butter.
Lemon Pie
Cool 5 min., stirring twice. Product will continue to thicken as it cools.
Pour the lemon pie filling into baked, cooled 9” (23 cm) pie shell. Top pie with meringue to the edges while filling is still hot.
Bake at 425°F (180°C) 5-7 min. or until golden. Cool on counter for 3 hours before serving.
Process
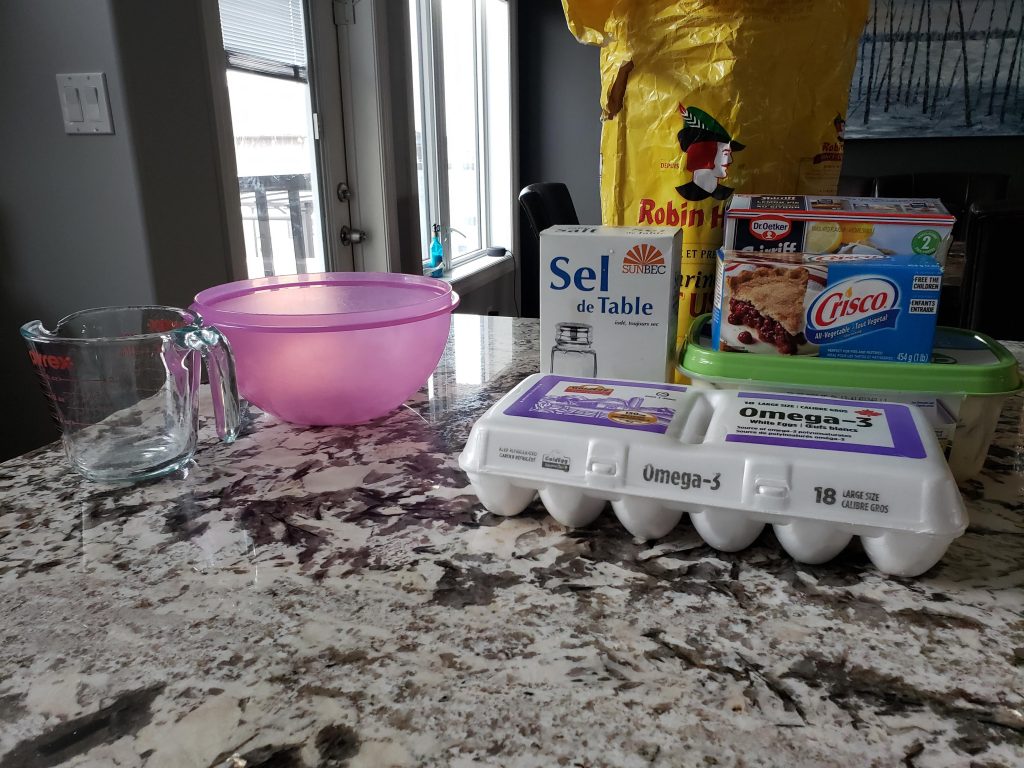 Gathering all the ingredients.
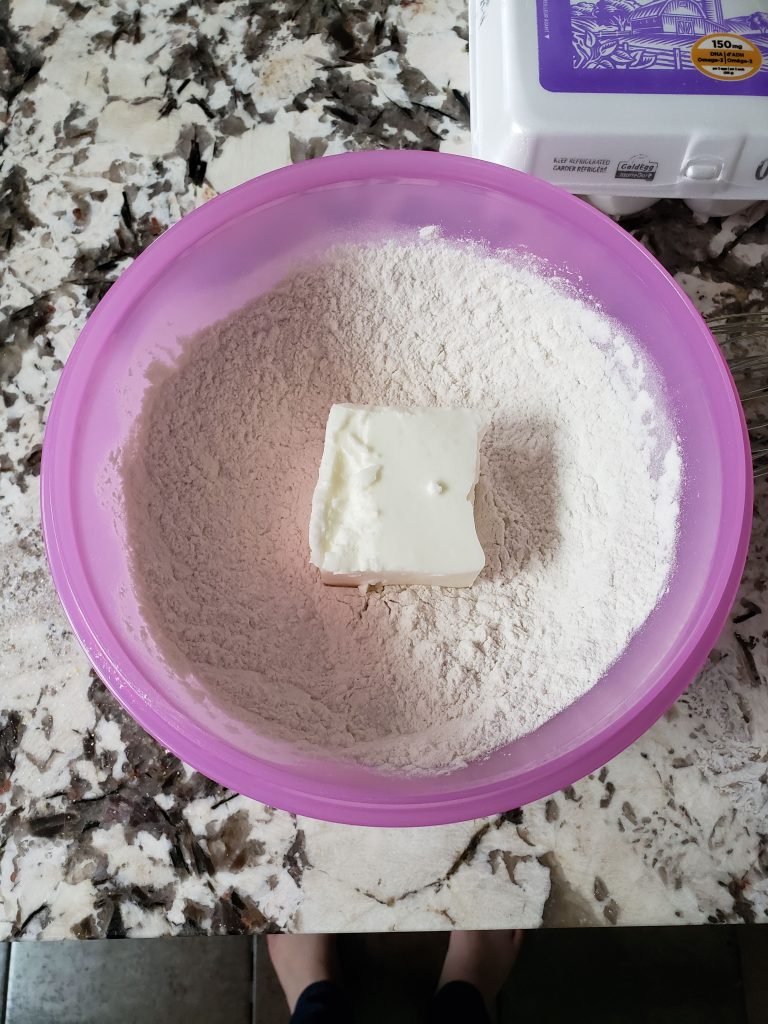 Combining the sifted flour and shortening in a bowl.
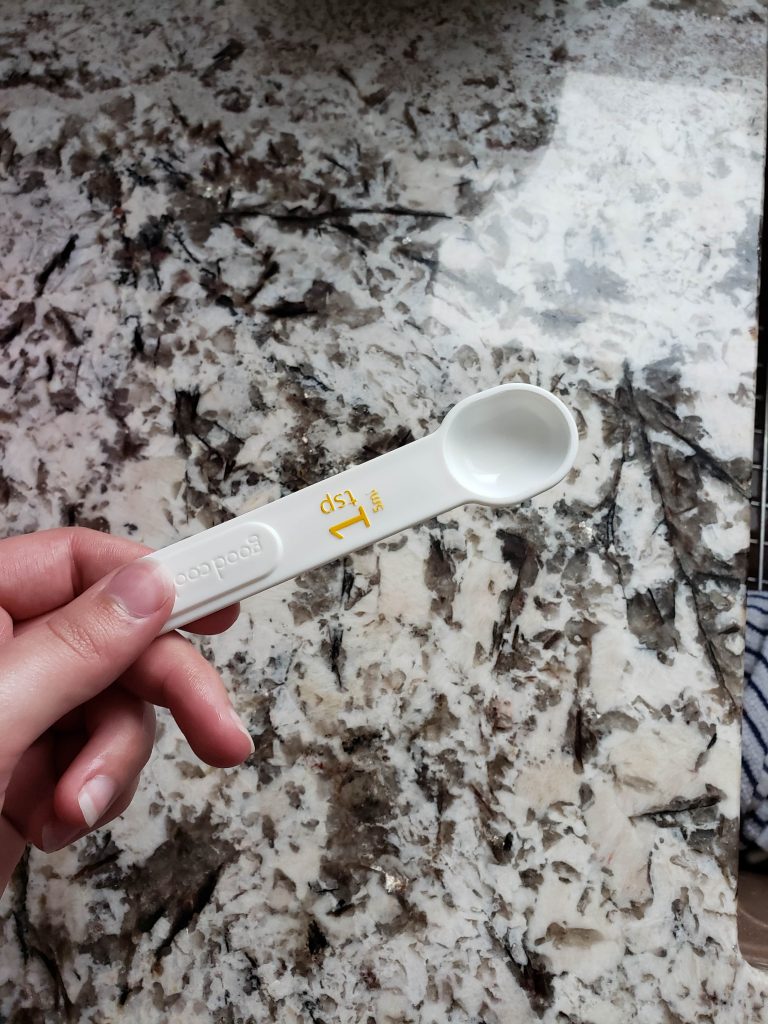 I added a bit of water to make the dough easier to work with.
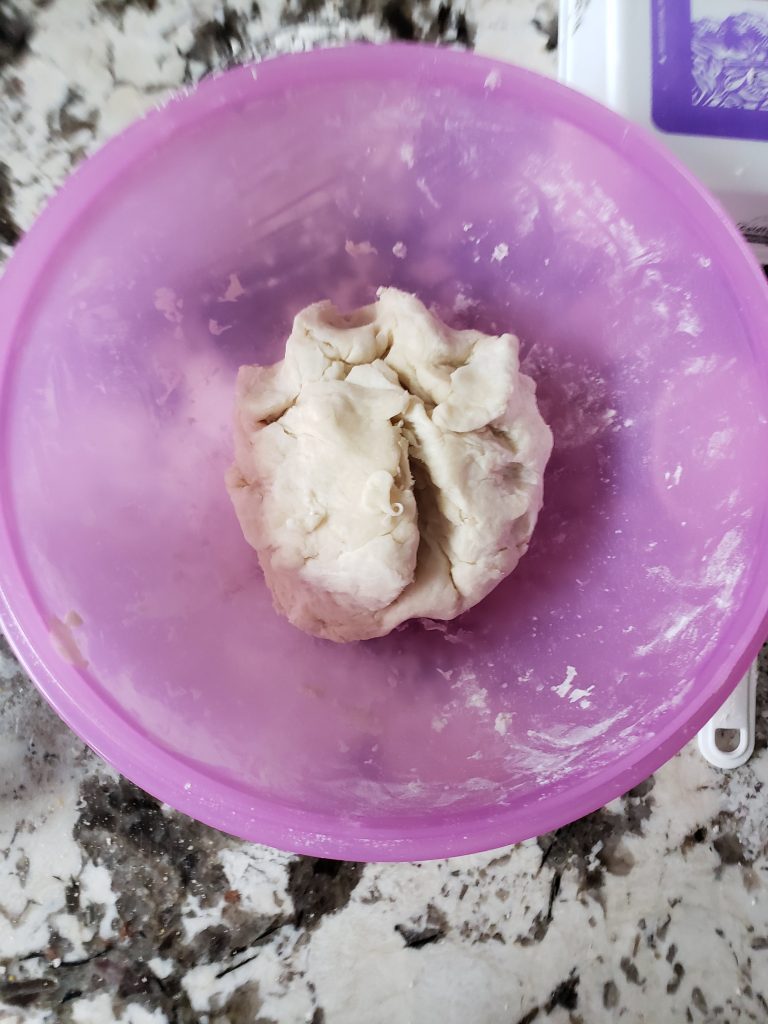 The combined ball of dough.
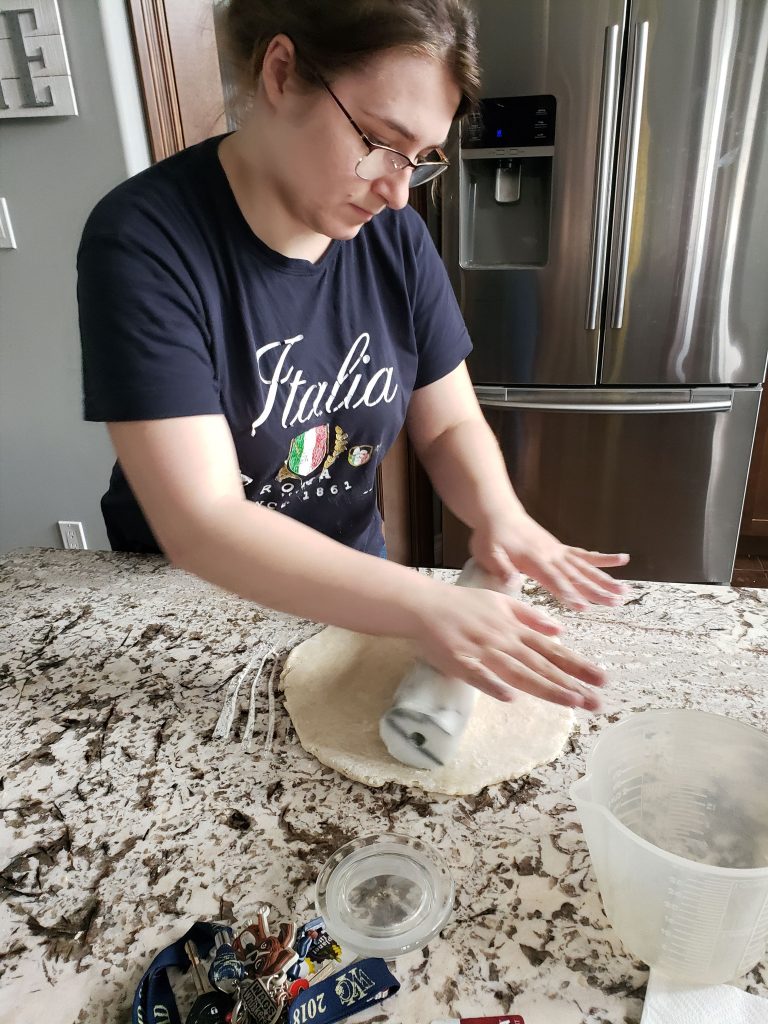 Rolling out the dough on a floured surface.
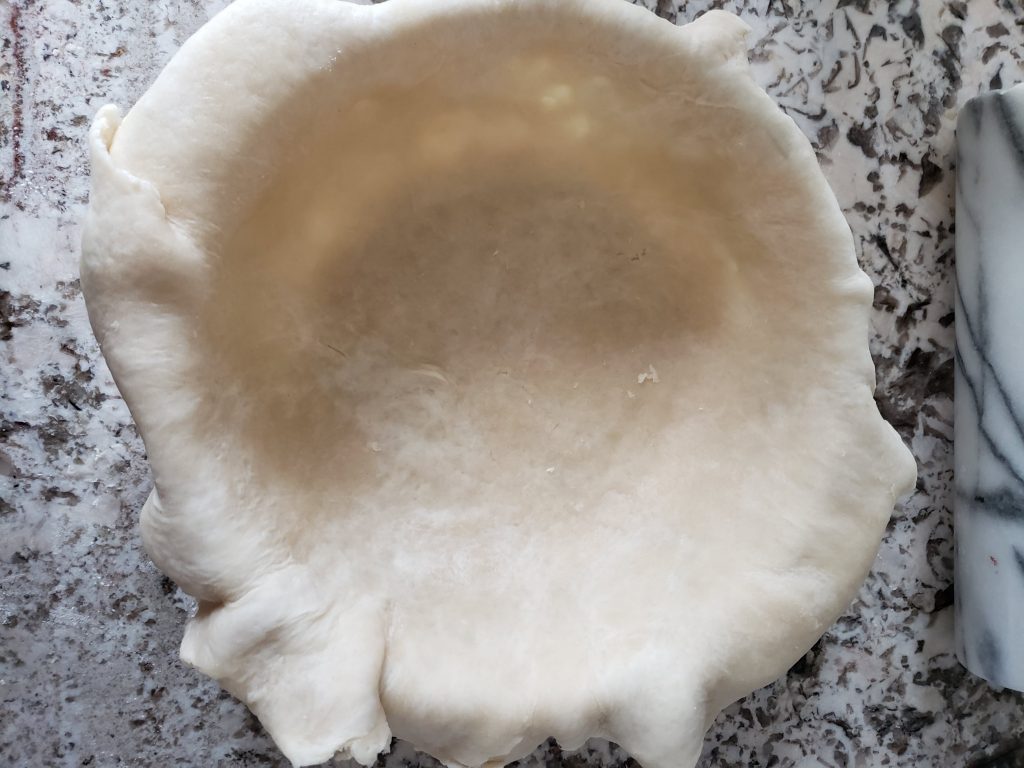 Placing the dough in the pie plate.
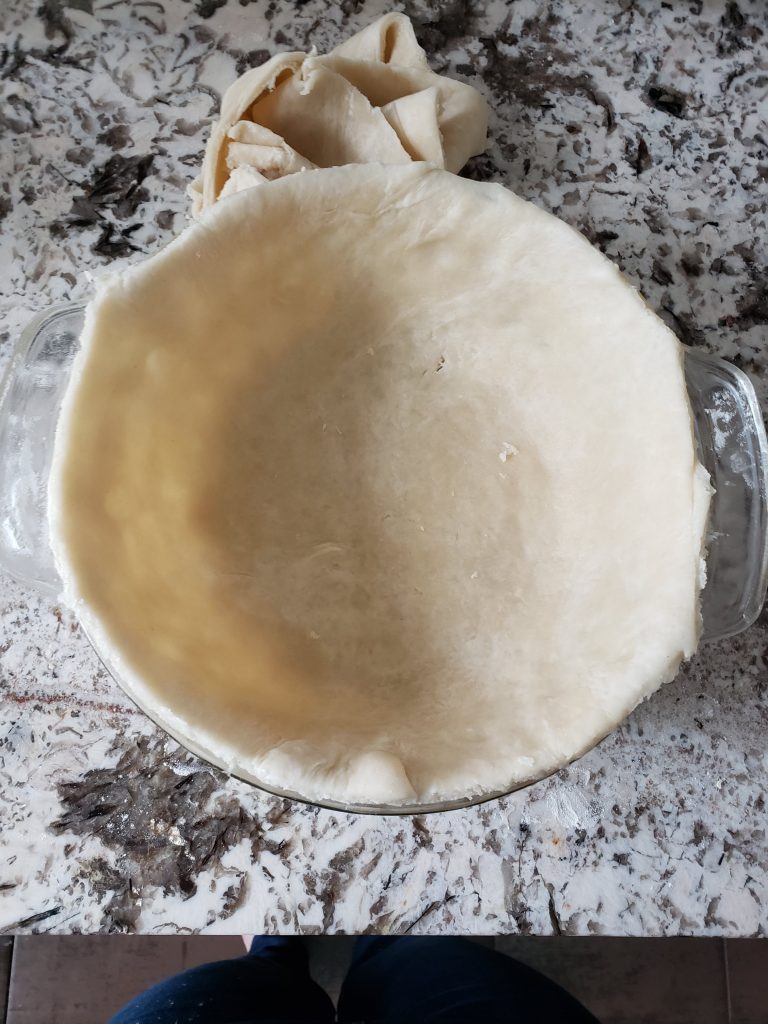 Trimming the excess dough.
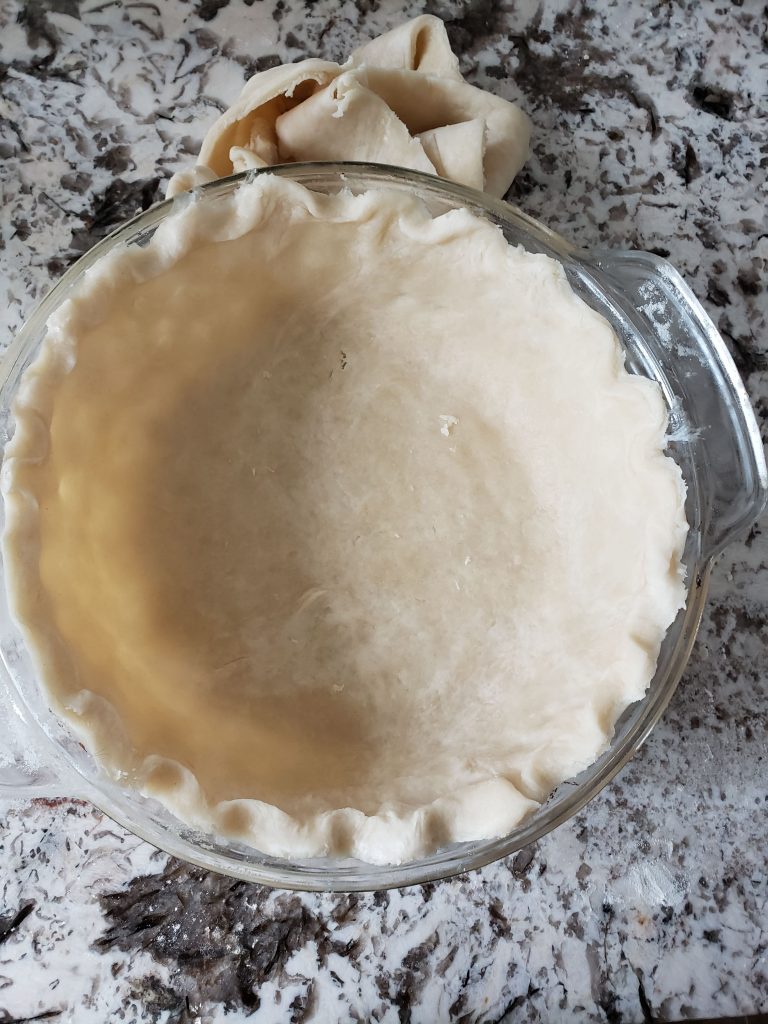 Crimping the edges, I struggled to do this like my grandma does.
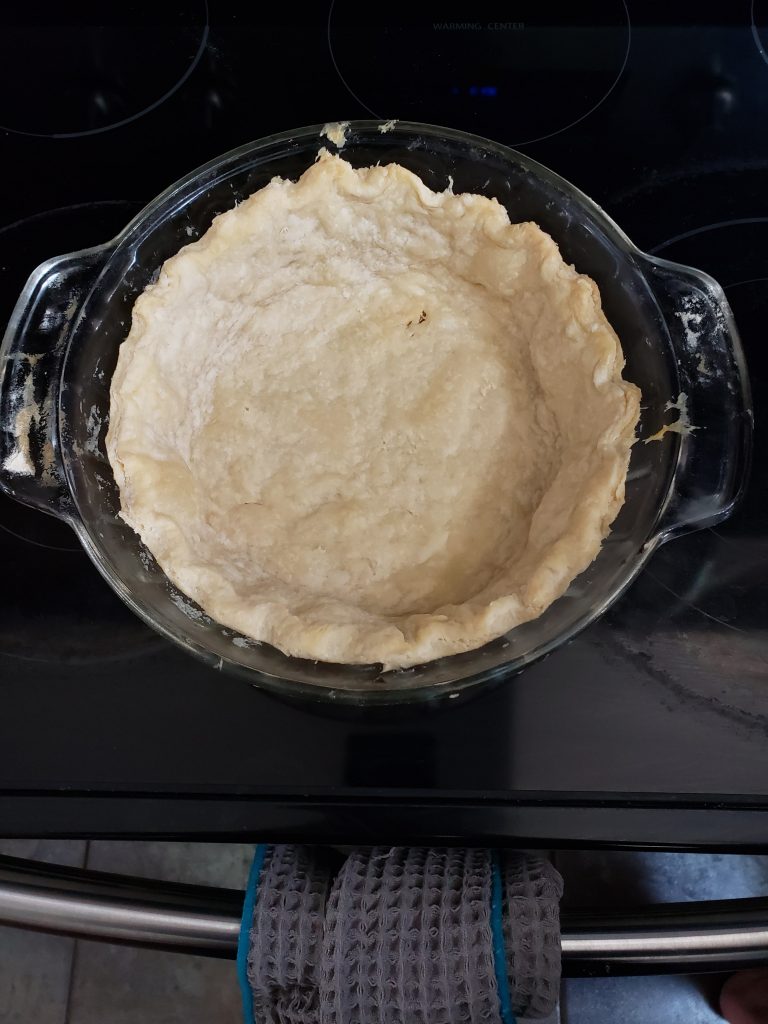 Baked pie crust. The crust came out thicker than I had expected. Next time I will roll it out to be thinner.
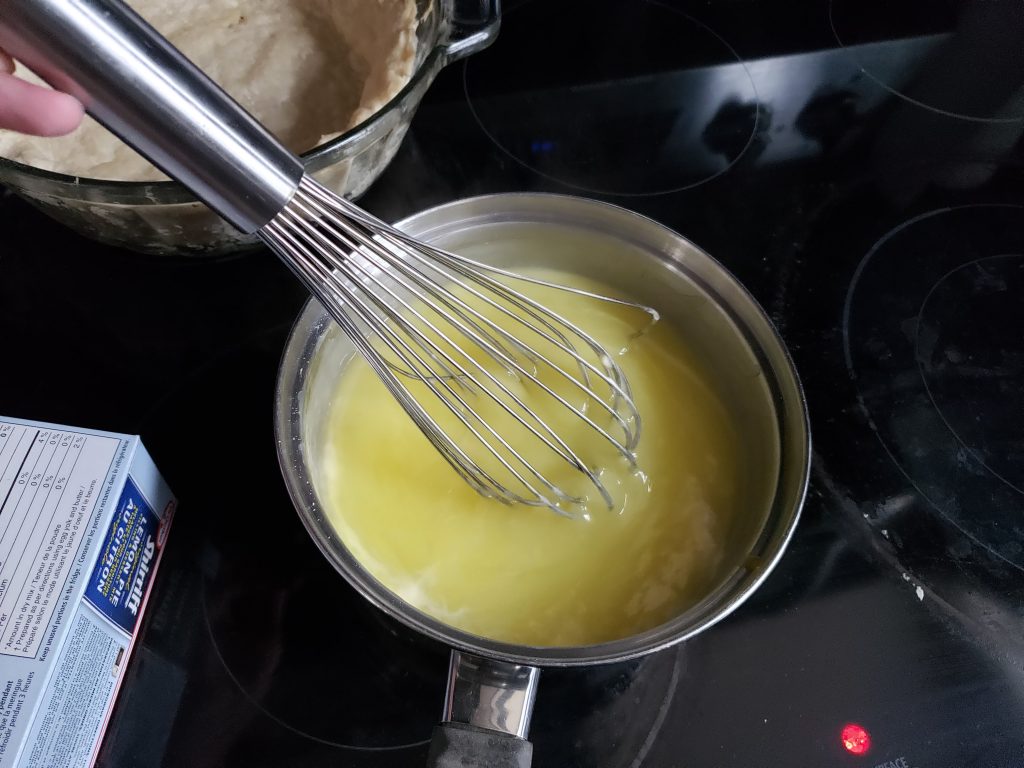 Cooking the filling.
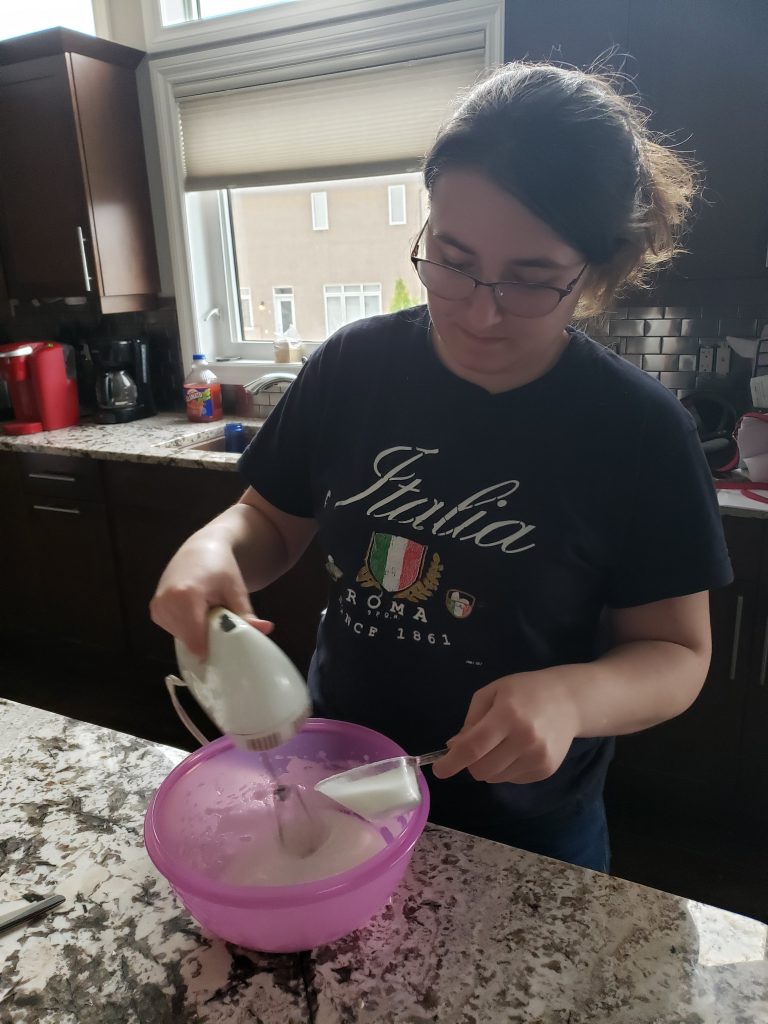 Making the meringue.
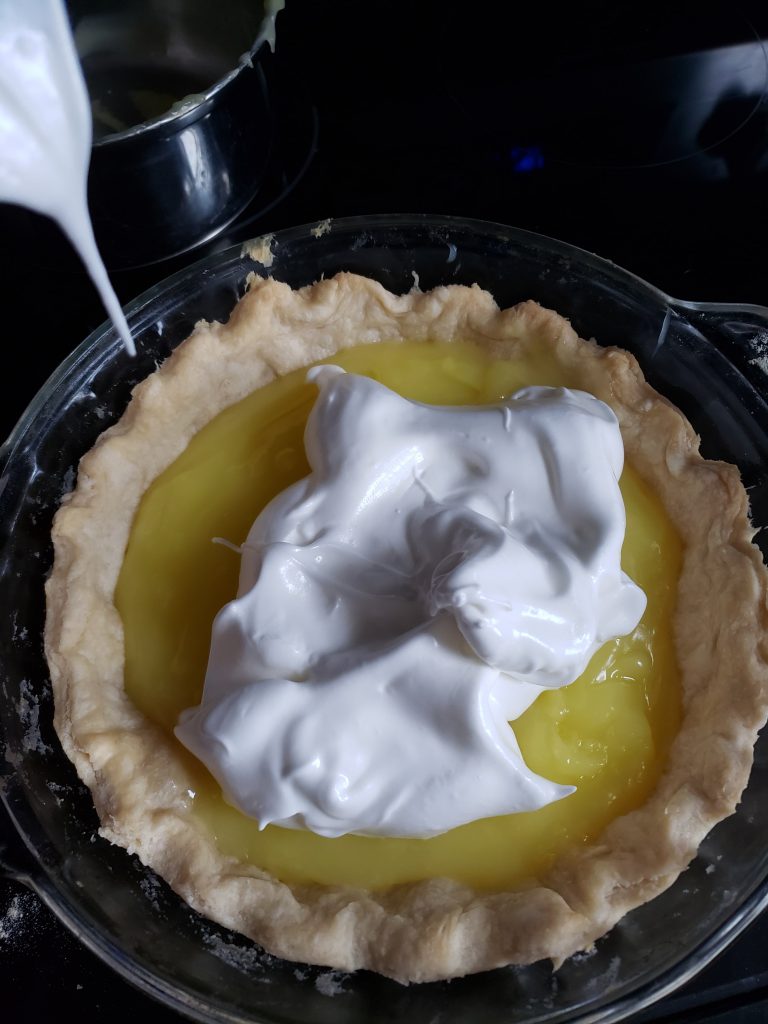 Filling the pie.
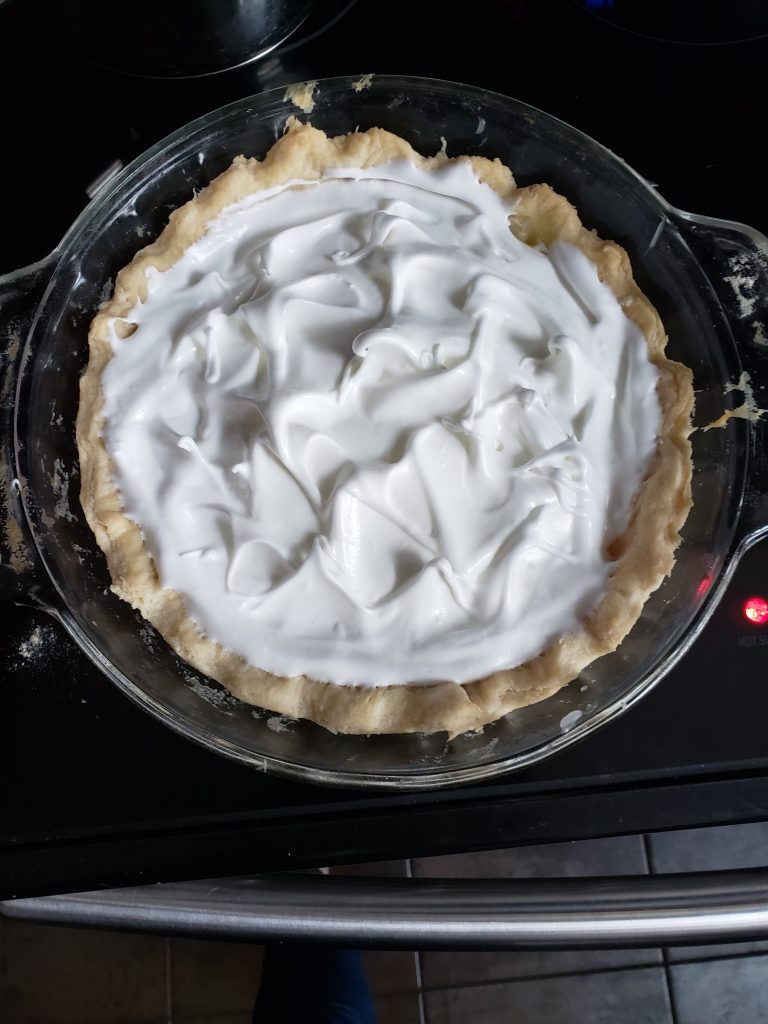 Spreading the meringue was my favorite part!
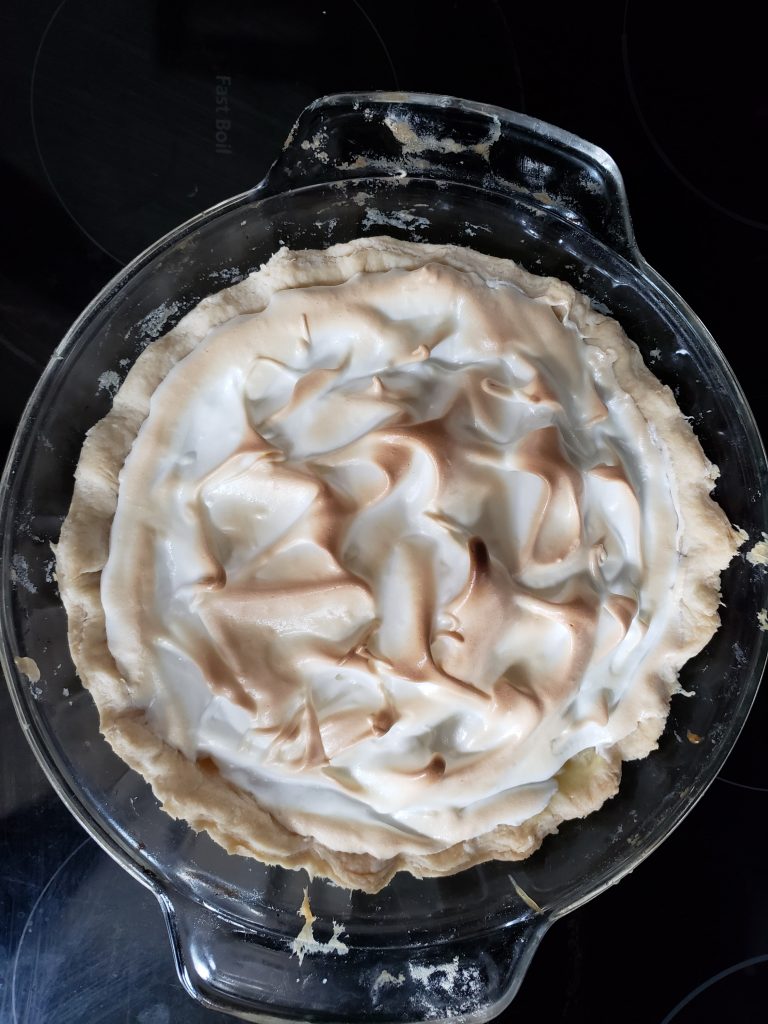 Final cooked product!
 Done!
Done!

Results
The pie turned out to be really good. I do not think I would make it again, but that is just because I do not like lemon meringue pie very much. The filling was great and the crust did a good job of counteracting the sweetness of the filling.
What would I do differently?
- I would make an apple pie instead of lemon meringue pie (just because I like apple pie better).
- I would roll out the crust to be thinner. I would also add a little bit of salt in the crust next time.
- If I made a lemon meringue pie again, I would let the filling set longer. My family and I ended up eating it too soon because my dad was pestering me every few minutes, asking if he could eat it yet.
Family Critiques
“Delicious!” – Bailey Wenger
“It’s good kiddo!” – Amanda Wenger
“The filling is good but, I wish the crust was a little more flaky.” – Loralei Linklater
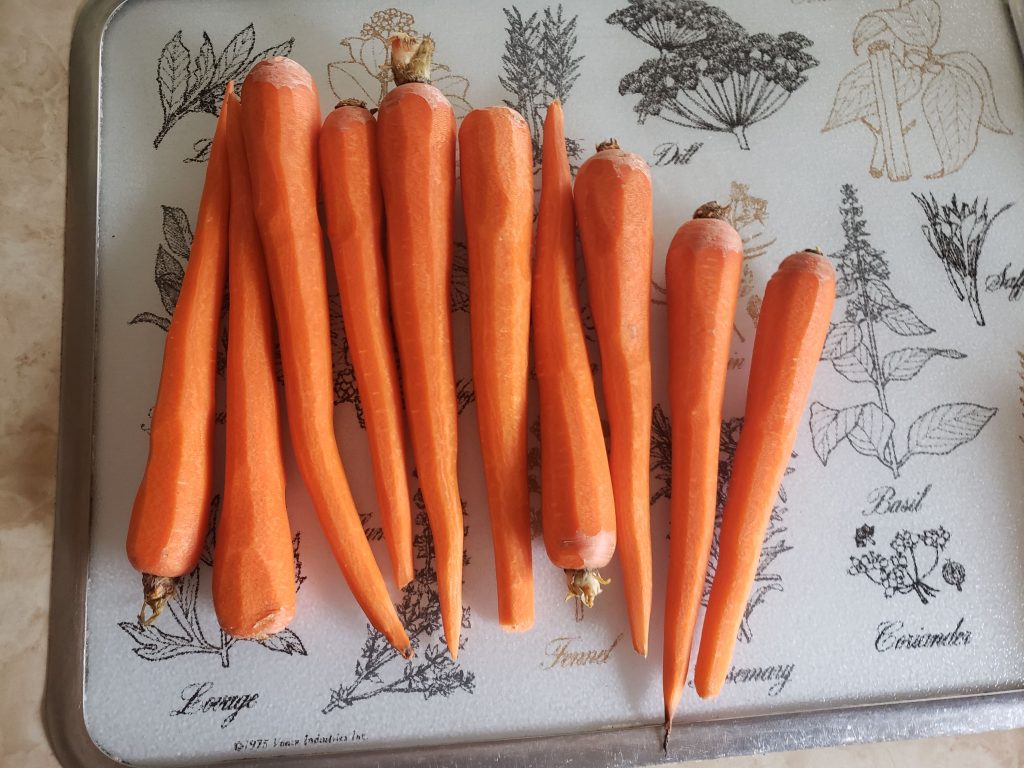 We used about ten carrots.
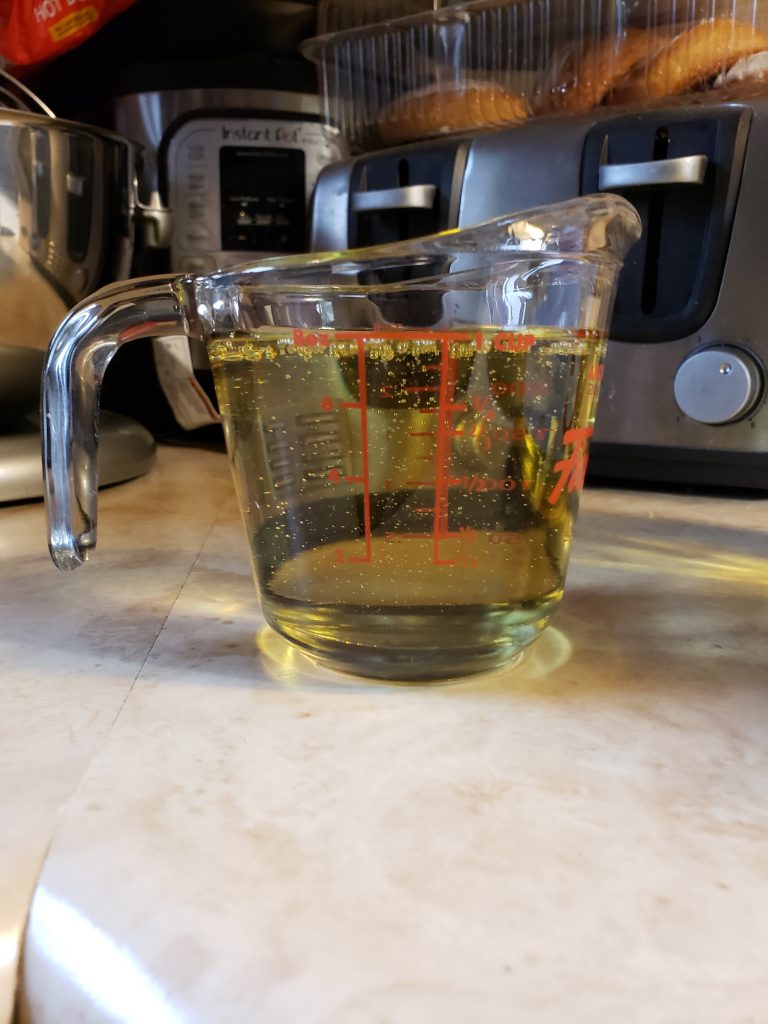 Measuring the oil.
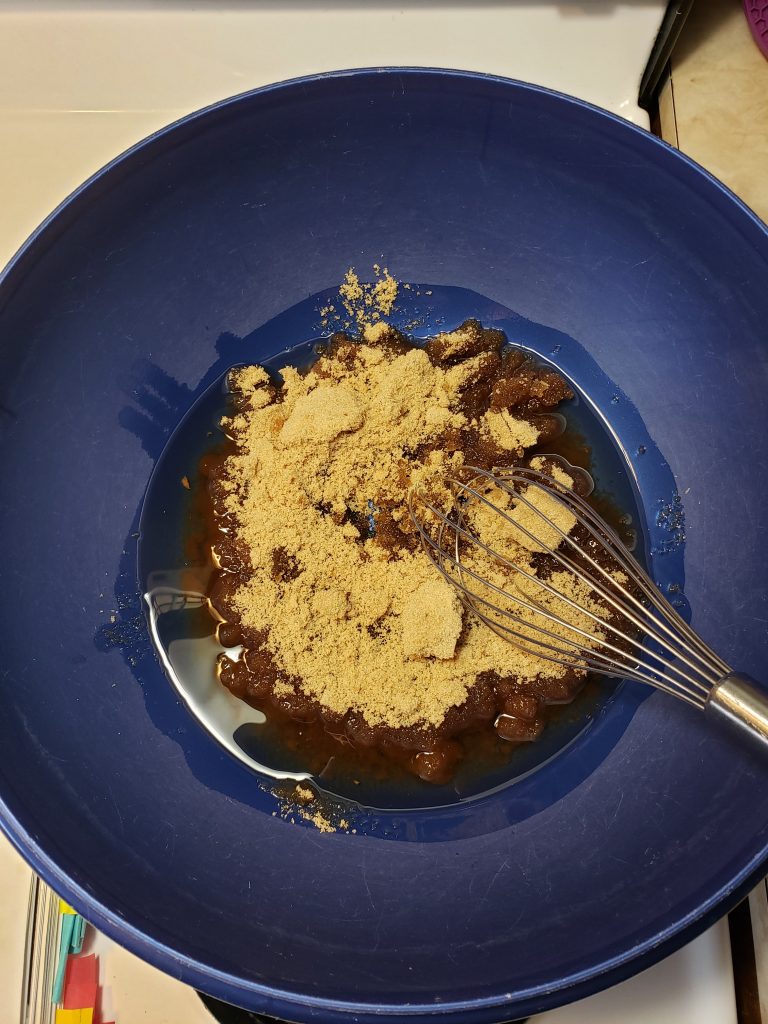 Mixing the ingredients.
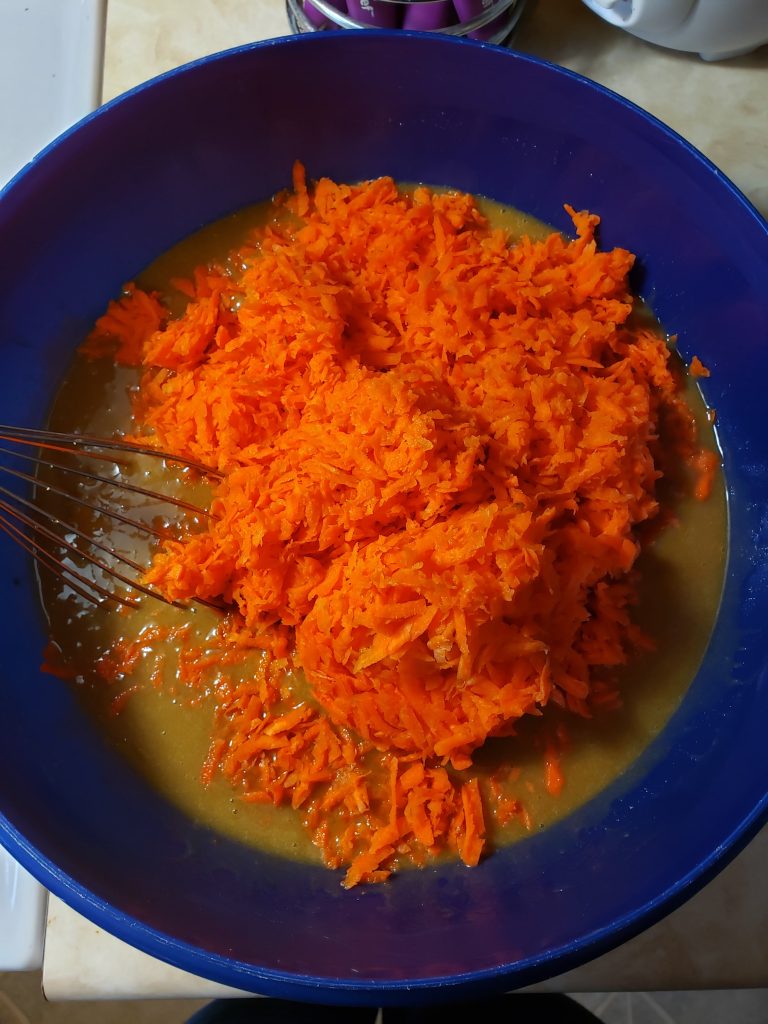 Adding carrots.
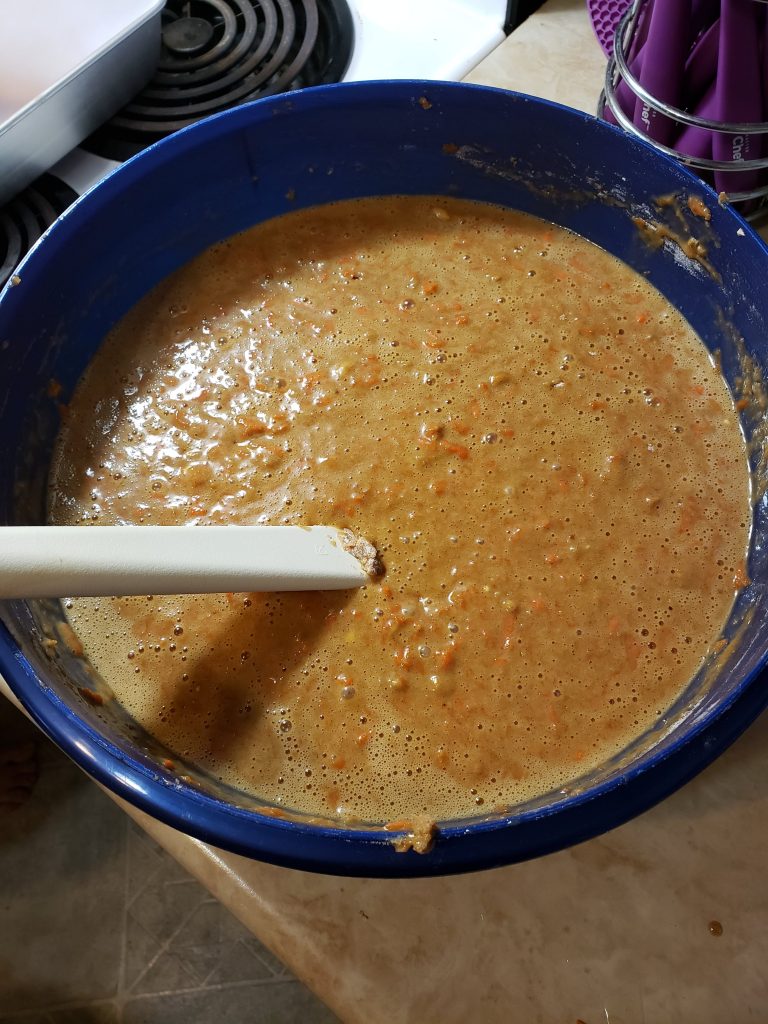 Fold.
Fold.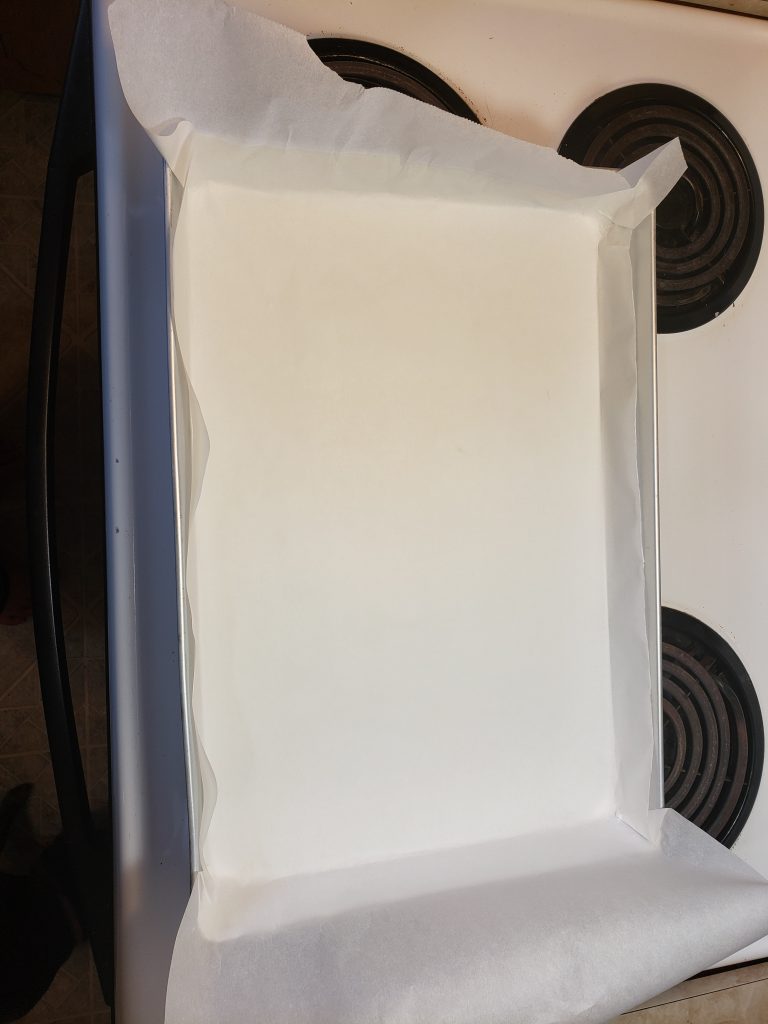 My mother-in-law showed me how to fold the corners of the parchment paper.
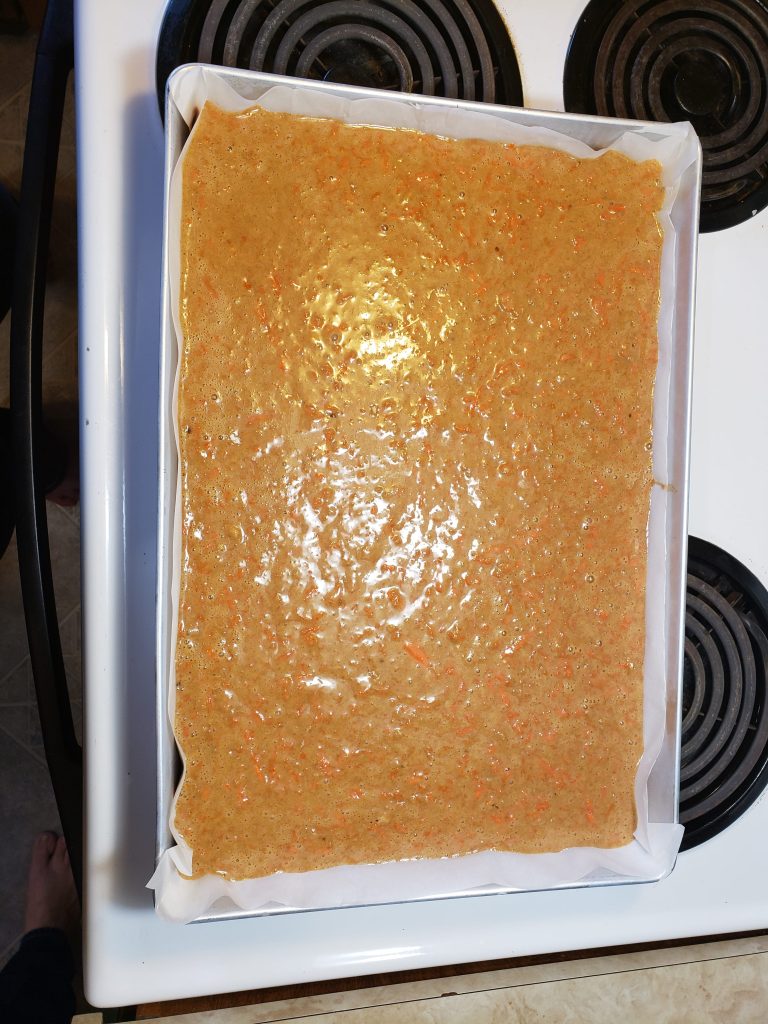 Cut the excess parchment paper off.
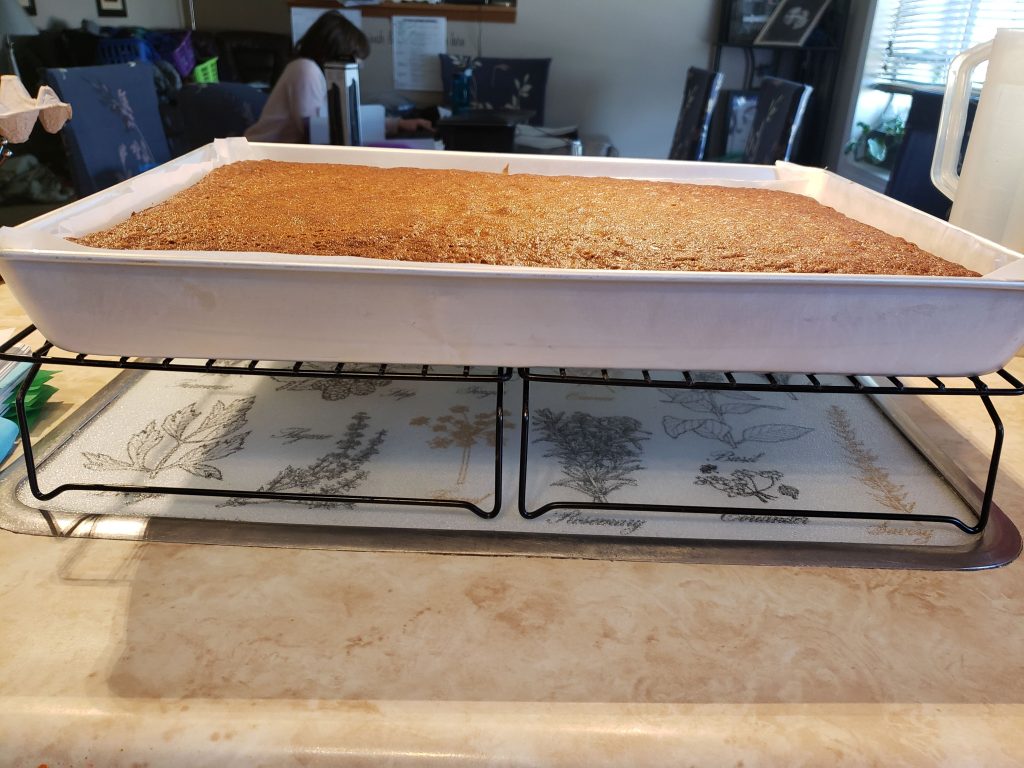 Fully baked. We used a pan that was twice the size recommended.
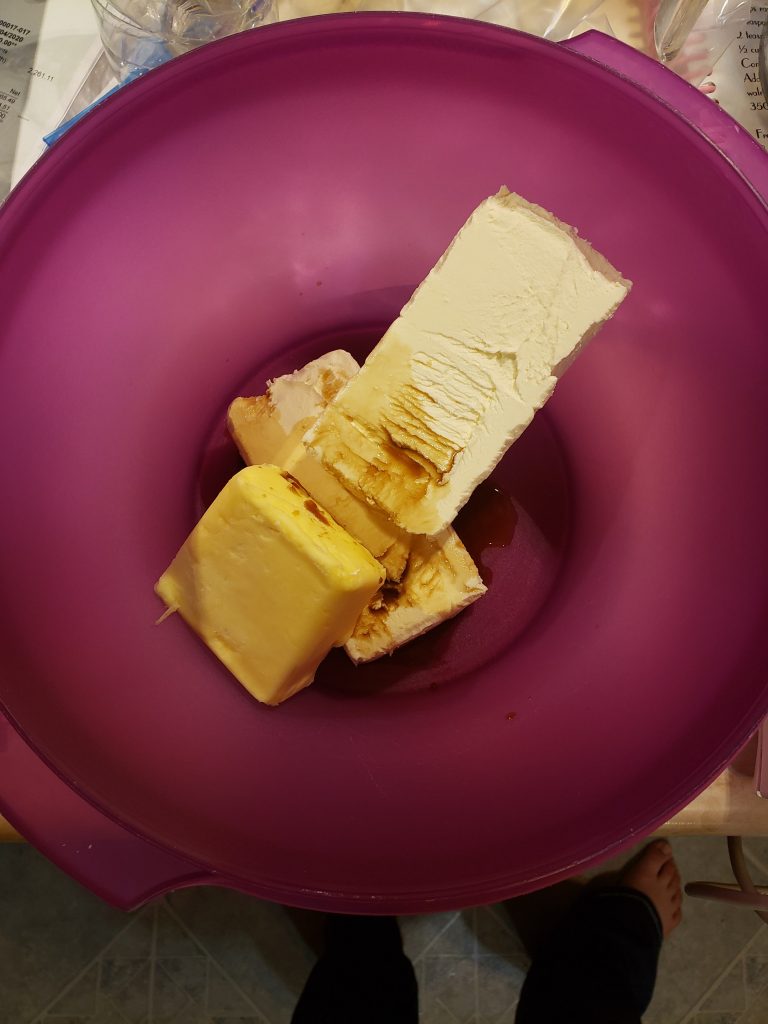 Cream cheese icing ingredients.
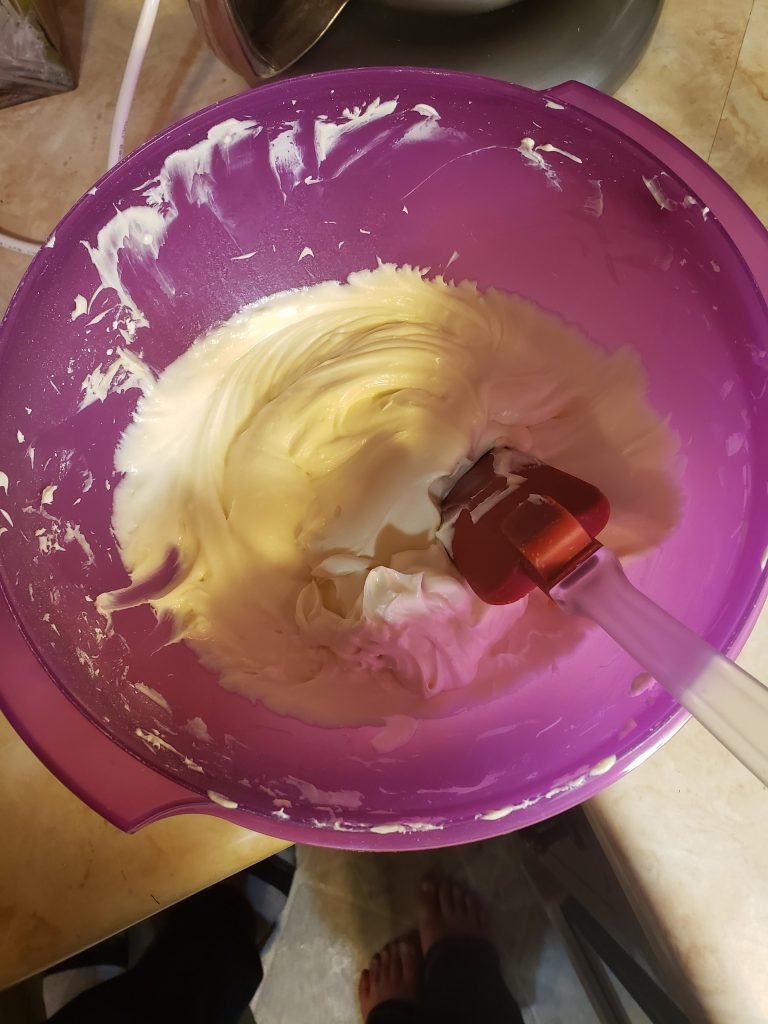 Mix. I did not use the entire amount of icing sugar.
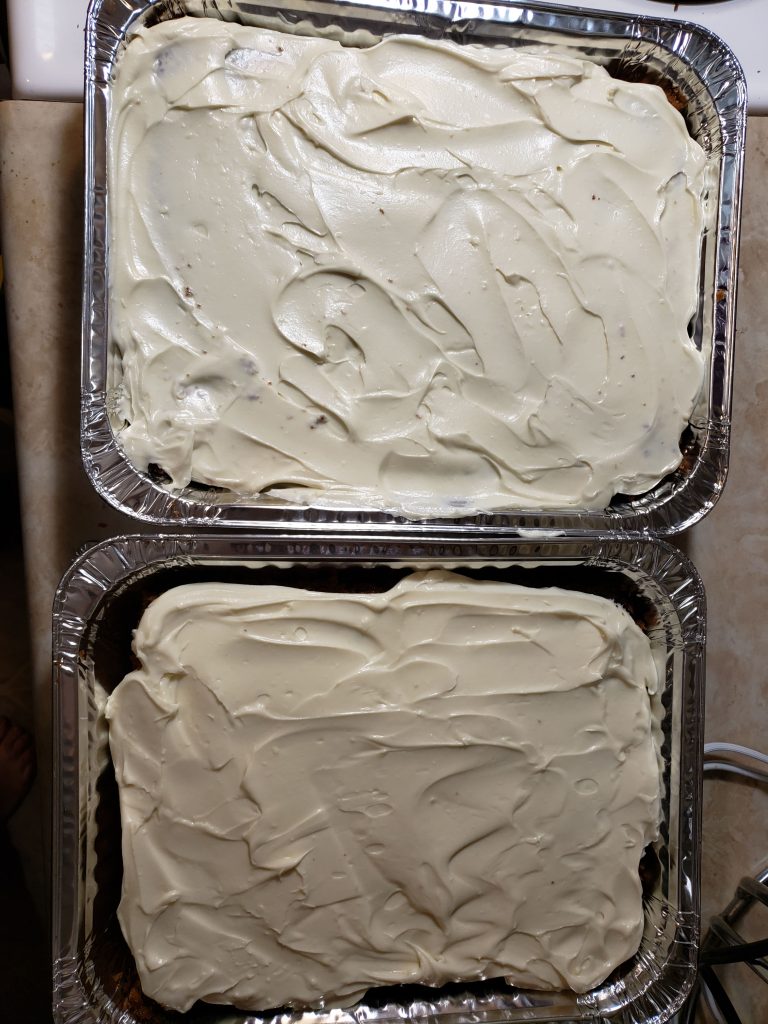 We split the cake and put them into separate disposable pans.
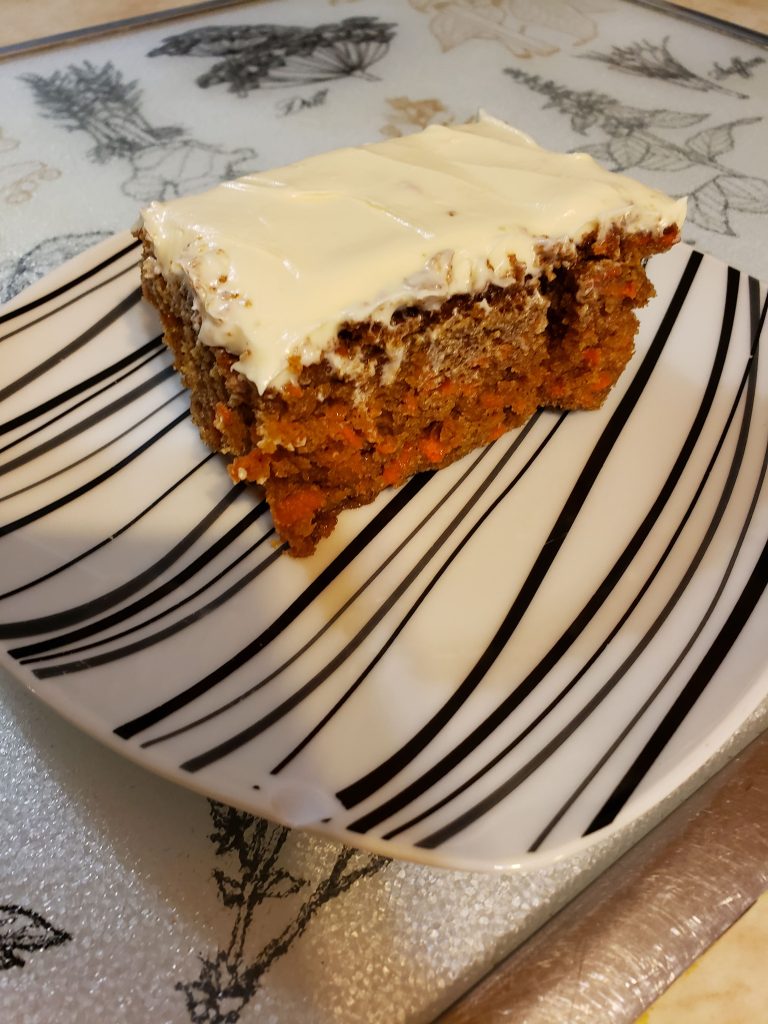
 Finished! It turned out so good.
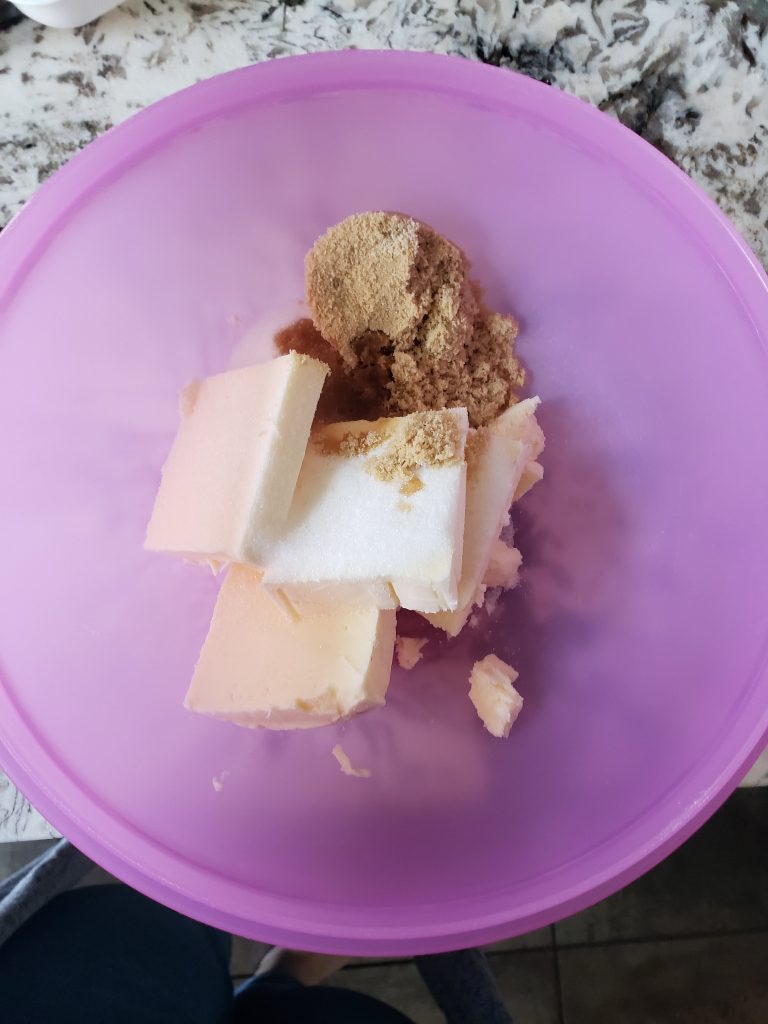 Gathering ingredients.
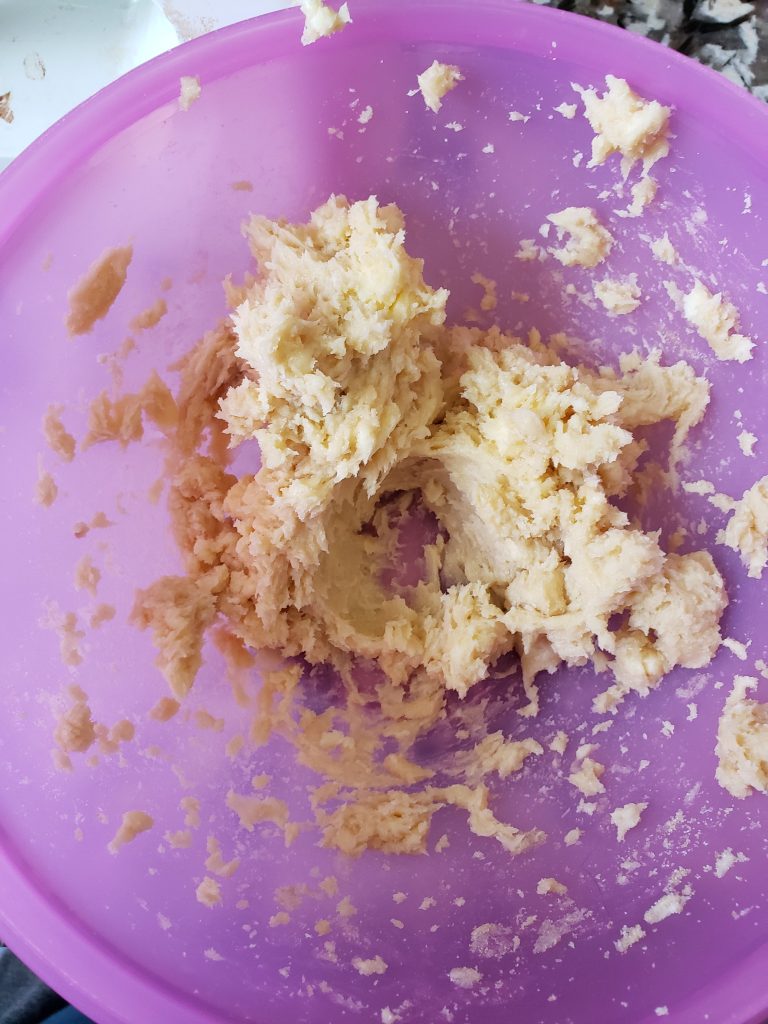 Everything was very hard to combine. Next time I would cut the butter smaller.
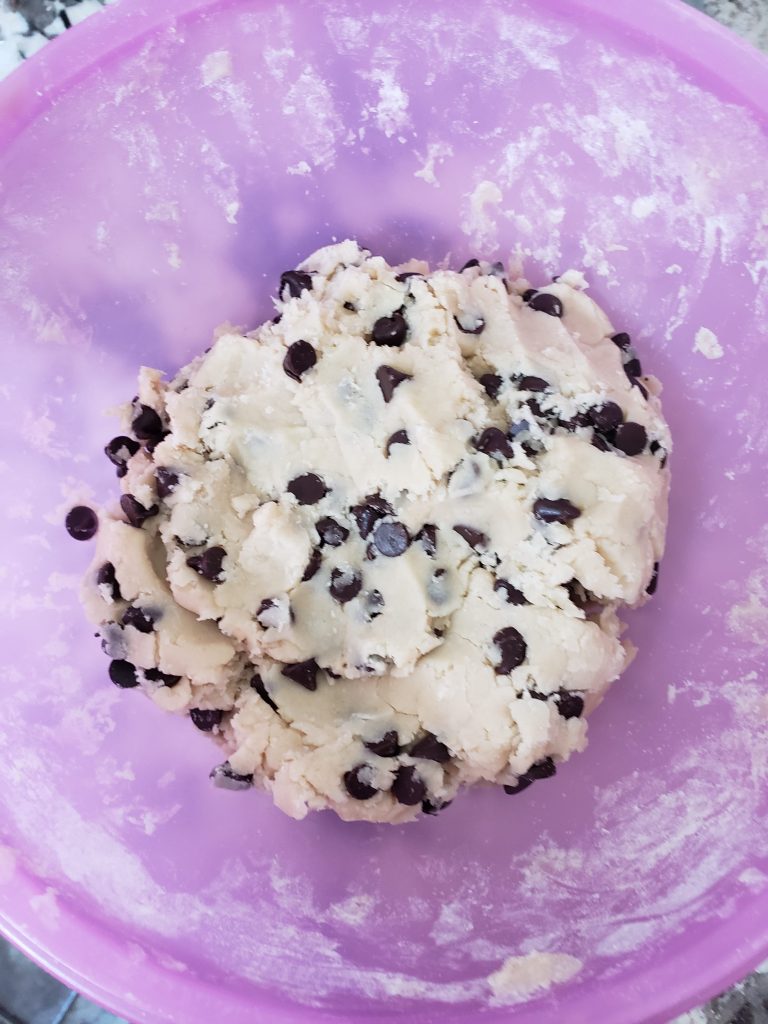 Fully combined dough.
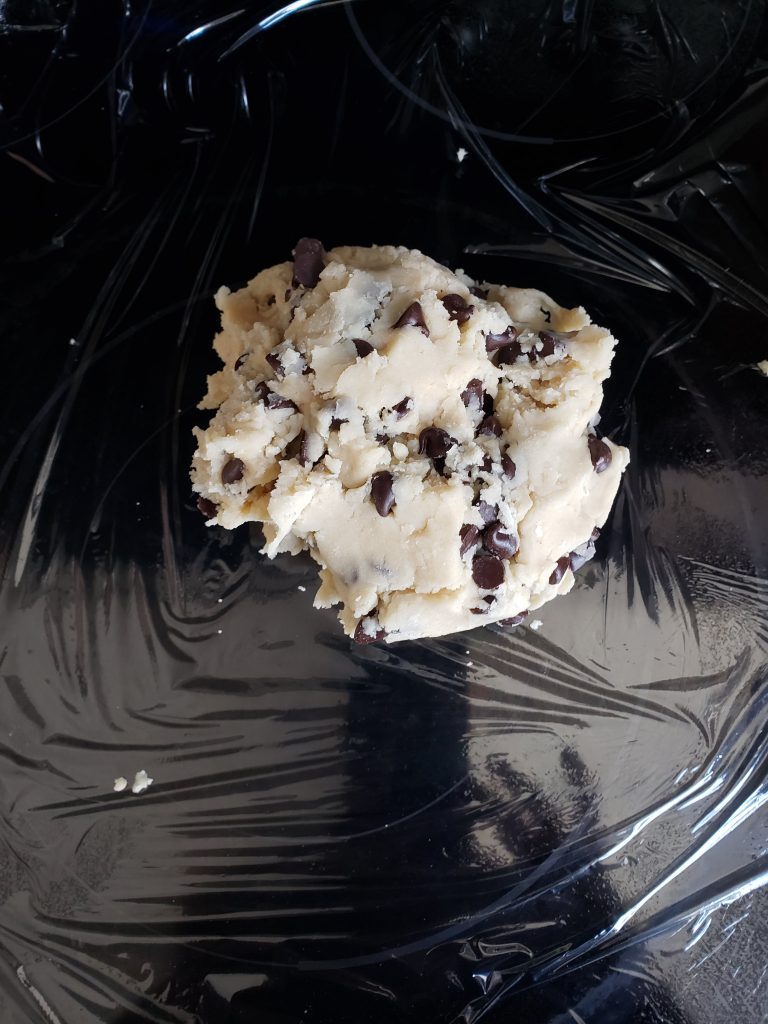 Wrapping dough to be chilled.
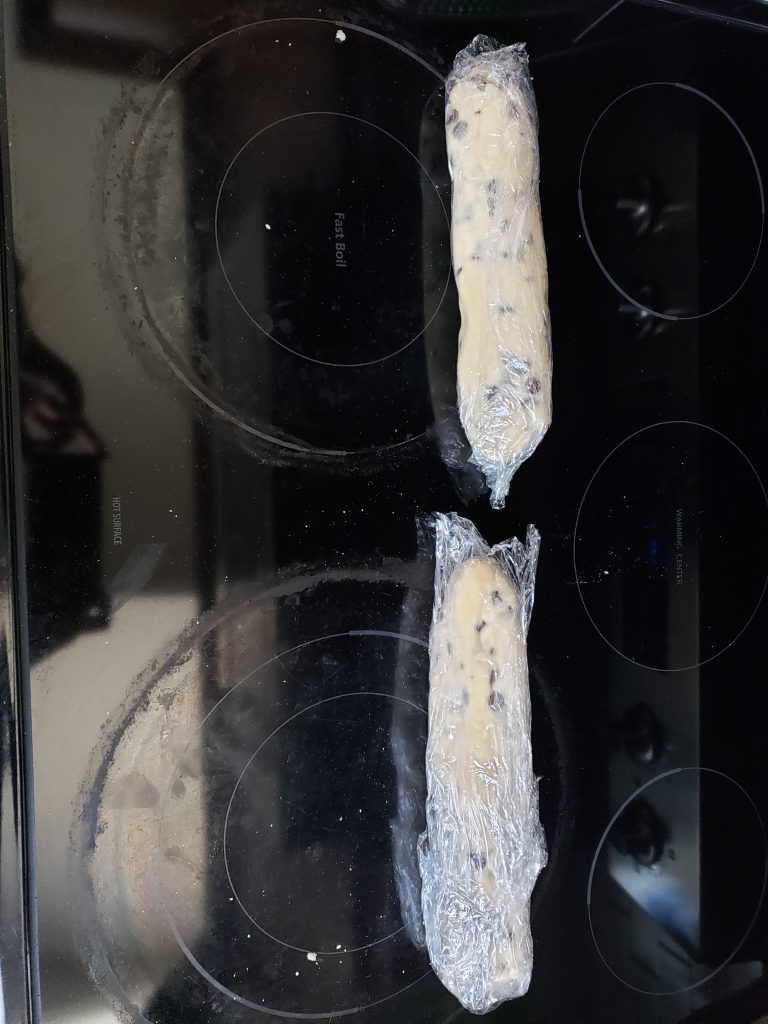 Prepared dough logs.
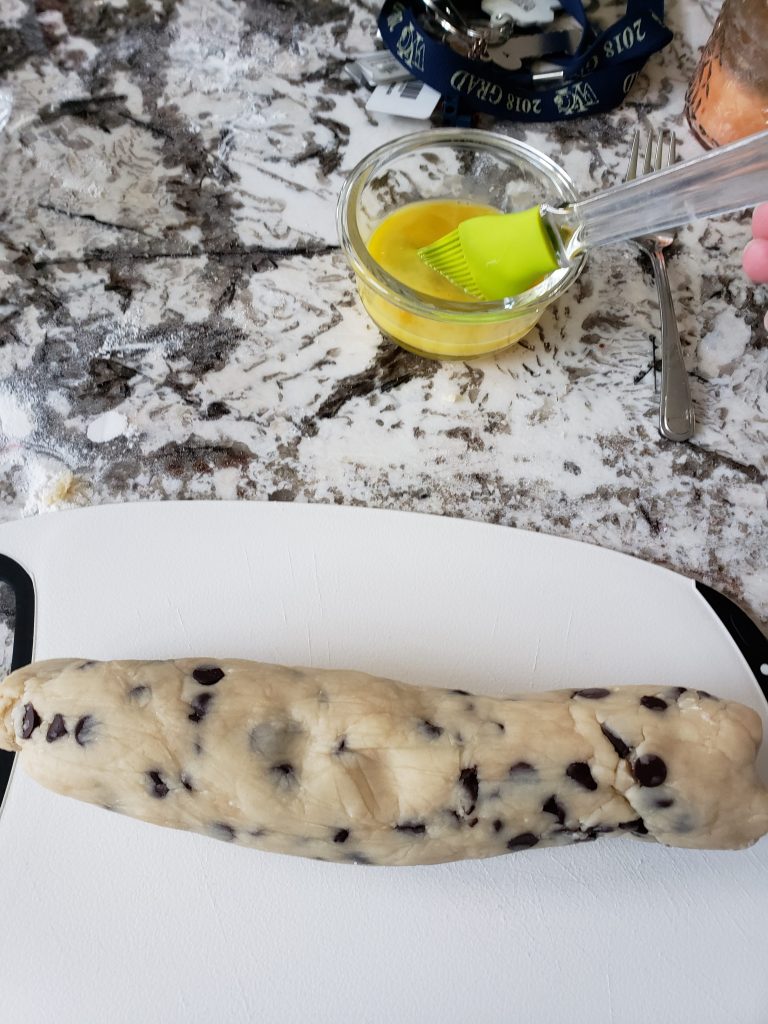 Egg washing dough.
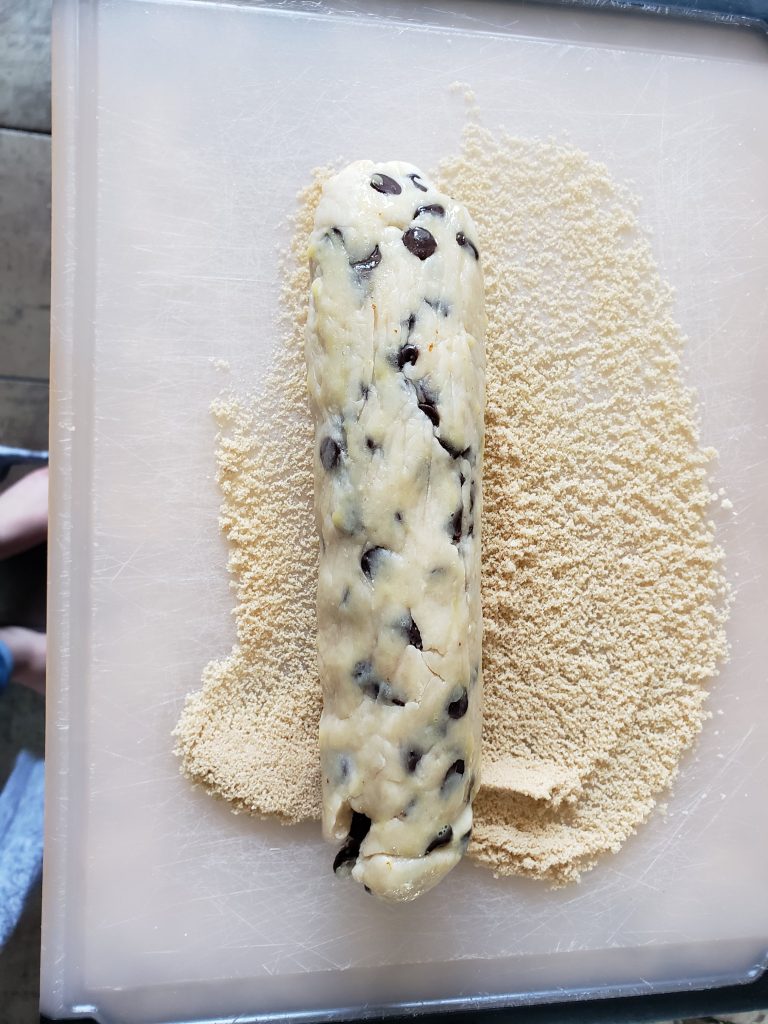 Rolling dough, I used regular brown sugar instead of demerara.
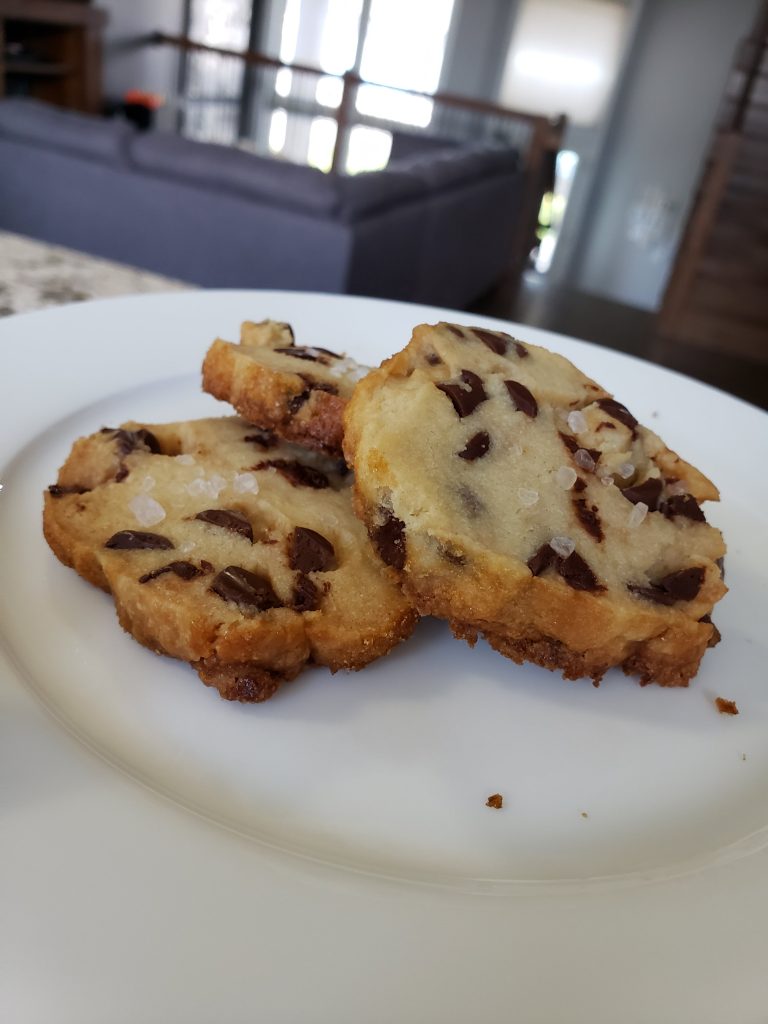 Complete!
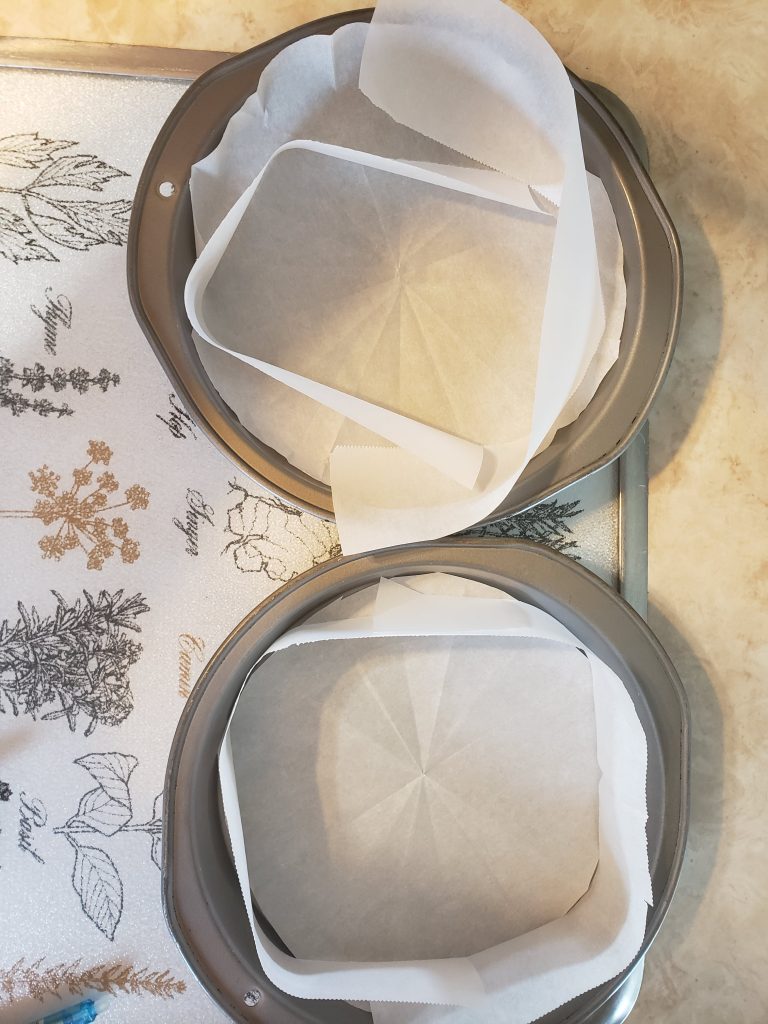 Prepped pans.
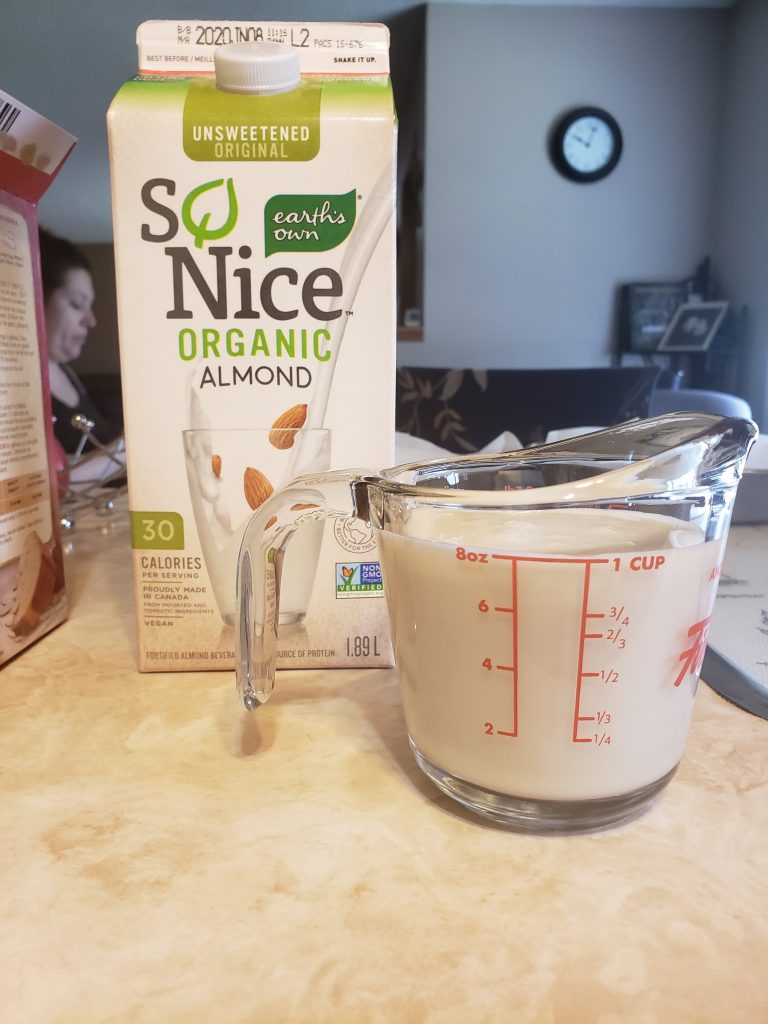 Used almond milk instead of water.
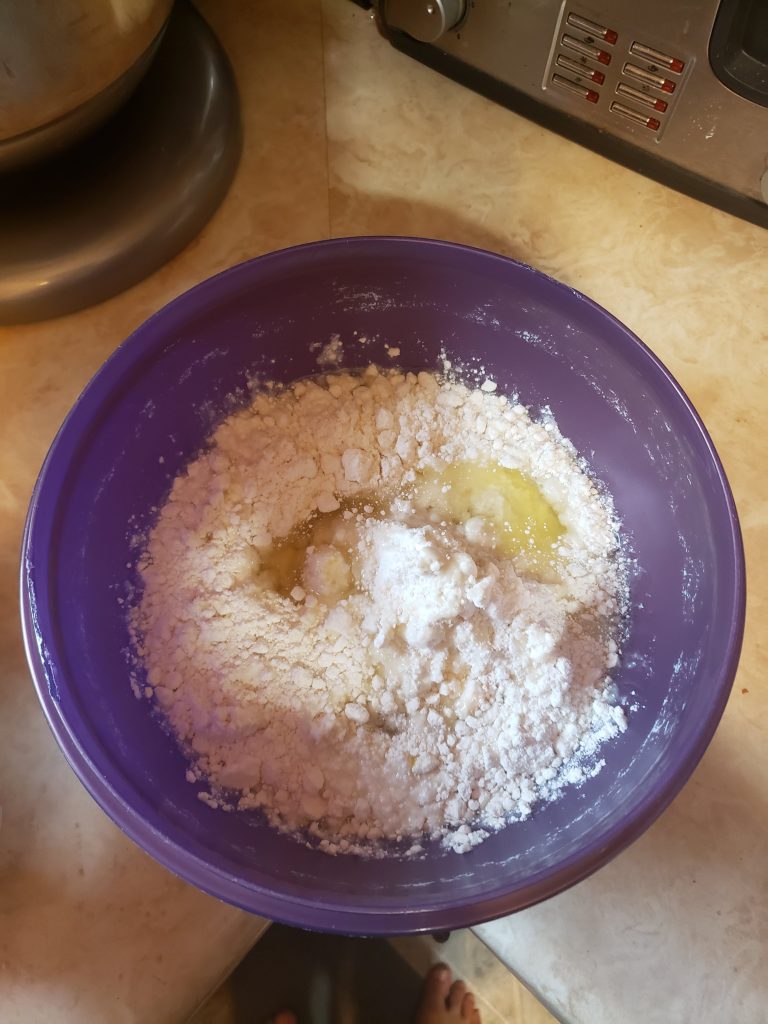 Mix.
Mix.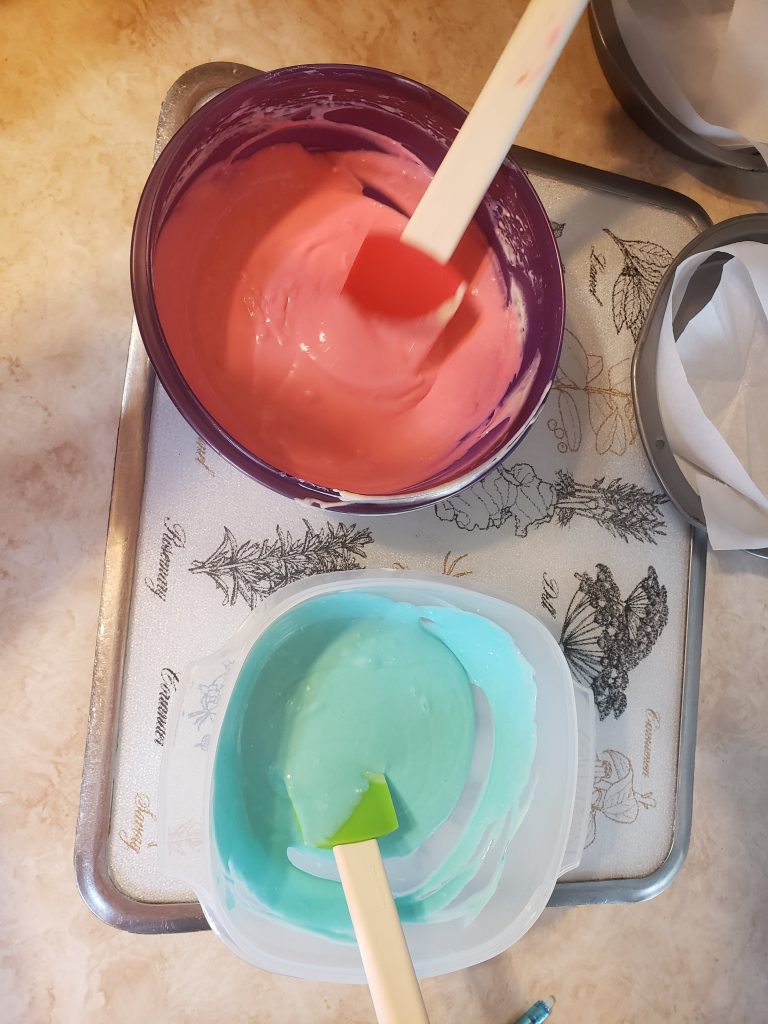 Colour batter.
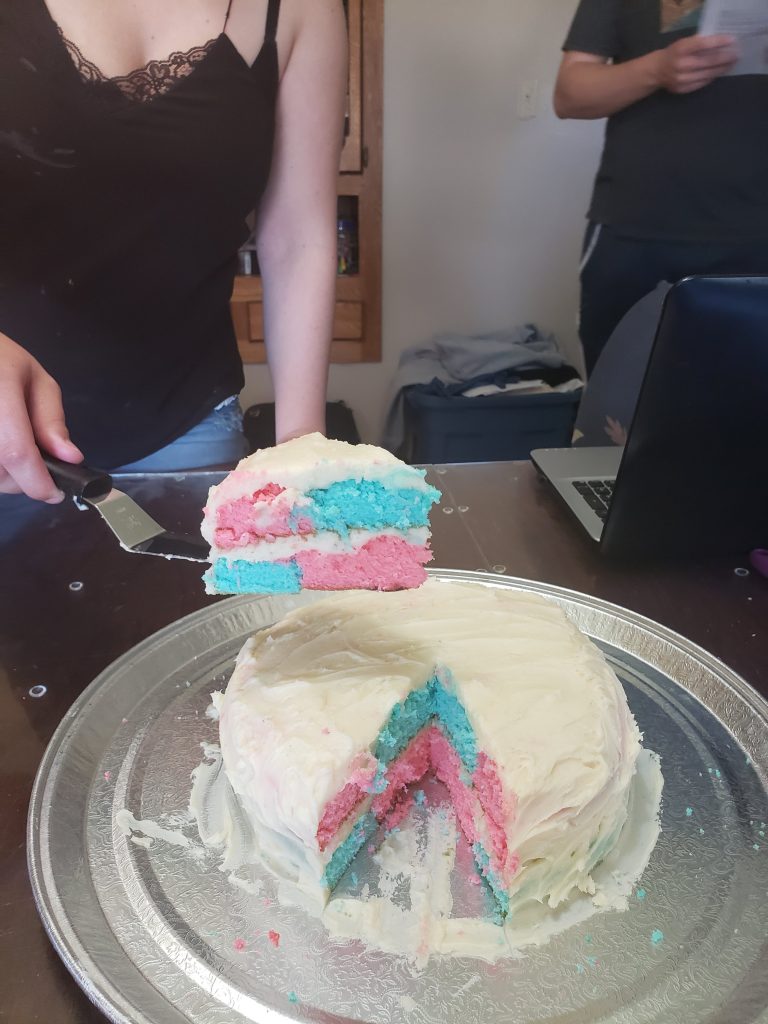 Finished.